SANDING AND POLISHING
Sanding and polishing timber floors in Toowoomba is our specialty. It’s what we do best. We love bringing old, worn-out floors like yours back to life. So, if you have timber floors in your home, and want them restored, this service is for you.

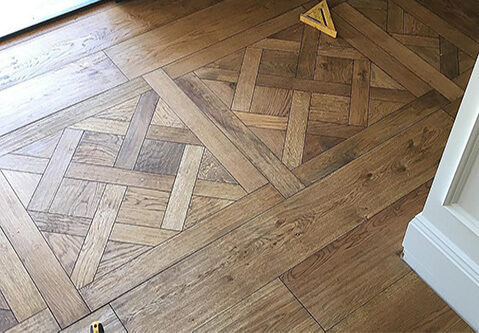
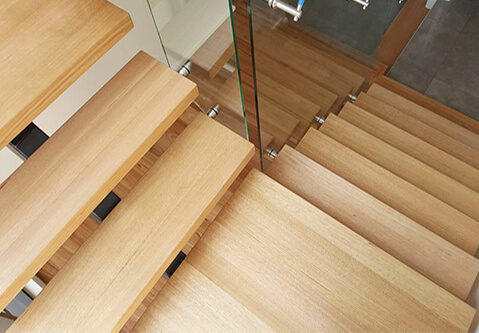
Toowoomba is full of older floors that have seen better days. We've had the privilege of sanding and polishing hundreds of them over the years. In our Photo section of the website, you can see lots of projects we've completed. We restore many different types of floors, including Cypress, Spotted Gum, Brushbox, Blue Gum, Hoop Pine and more.


Do you want a traditional natural look, change your floor colour to something completely different, or use a buffing oil finish? We have the experience and skills to make it happen.
Our Floor Sanding Process...
There is a lot involved in restoring a floor. The process varies a little between the different types of timber. But below is a brief outline of the main steps involved:
STEP 1Prepare the Floor
First is preparing the rooms and floor to be ready for sanding. We seal off all rooms, set up our dustless equipment, sweep and vacuum, set protruding nails, and take care of any repairs needed.

STEP 2Remove Old Finish
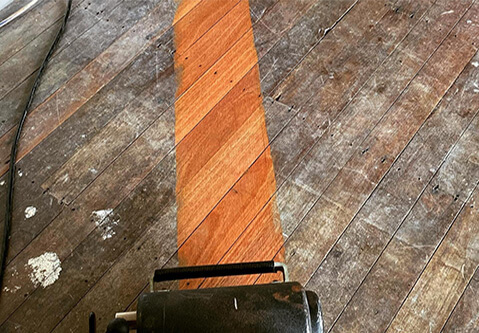
We now bring out our sanding machines and start to remove the existing finish. We crosscut the floor to flatten it, and take it back to bare wood. This involves several passes with different grits of sandpaper, from 40 grit and up. We use various sanding machines, including a big belt sander, edger sanders, and hand scrapers. (Below, you can read about our dust containment system.)

STEP 3Vacuum & Fill
We fill the nail holes in the floor with matching putty. Lots of vacuuming happens in this step. Unfortunately, we can't fill gaps between boards in timber floors here in Toowoomba (unless it's a new glue-down parquetry installation). Significant seasonal gaps in our floors prevent this. You can read more about what floors we can and can't use putty/filler with here.

STEP 4Fine Sanding
Next, we start the fine sanding stage. The sandpaper used to remove the finish is rough, so a finer sandpaper sequence is needed to remove those scratches, the filler, and completely smooth the floor.

STEP 5More Vacuuming
Vacuum, vacuum, vacuum. Actually, by this time, the floor has been vacuumed multiple times. Removing any floor debris at this stage is essential so it doesn't contaminate the next steps.

STEP 6Water-Pop and Stain (Optional)
Have you decided to change the colour of your floor? In this optional, multi-part step, we will first water pop your floor and prepare it to be stained. Then your choice of stain/colour is applied.

STEP 7Apply Finish
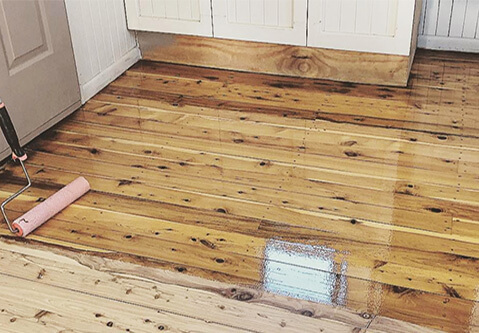
Your floors are now ready to be coated. Depending on the finish system you choose (see below for a link to an article you should read about finish choices), this process will involve either 1 or 3 coats. It will be rolled or buffed on, again, depending on your chosen finish. With our multiple coat systems, the floor is abraded between each coat, then thoroughly vacuumed and tacked.

After these steps, your floors are left to dry. Once they're dry enough to walk on (usually the next day), we'll go through the site to make sure everything looks good. After that, we'll do a final clean and put back anything we removed, like vents, doors, etc. Then we ask you to be super careful with them for a few days while they fully dry and cure.
The Optional Dust Containment System
Dust has always been part and parcel of sanding timber floors. Have your floors sanded and get a big mess to clean up. Thankfully, it doesn't have to be that way anymore. Our dust containment setup is a straightforward and effective system that can reduce the amount of dust by 99% or more.

Why is it so dusty?
Because floor sanding machines aren't great at capturing all the dust they create. They were designed to collect dust in a big cloth bag. All the larger sawdust gets captured, no problem. But the super fine dust can't be contained in the bag, and it filters out into the room. Then the cloth bags are emptied into larger plastic bags, causing even more dust. It's a big mess. The edger sanding machine is even worse, with its severely inadequate small bag and lack of suction. And the main culprit is the buffer. It has zero dust containment capabilities.
With our dust containment system, there is minimal airborne dust. All our sanding machinery is hooked up directly to a specialized industrial grade vacuum system. Dust is collected and sucked away in a sealed system.

The difference between the old cloth bag system (that many timber floor polishing companies in Toowoomba still use) and this new method is pretty significant. We couldn't be happier with how it works.
By hooking all our machines up to this dust reduction system, we can eliminate around 98-99% of the dust from the sanding process. The remaining 1-2% we clean up at the end of the job.
This optional add-on may not be appropriate for every project, especially if you have multiple trades coming in after our work. But for many projects it's a worthwhile investment that will save you time and frustration. Ask for more details when we come out and provide your quote.
Important Points to Keep in Mind
You only have a limited number of re-sands possible before the tongue and groove (which keeps them locked together) in your floors are reached. Once that happens, it’s not possible to sand your floors anymore. They will need replacing.
Because of this, you want to ensure the very minimum amount of wood is removed from the surface as possible to give you the desired results. You don’t want someone coming in and grinding a ton of wood from the surface. It may look good, but you would have just removed years and decades of life from your floors.


We have perfected a system that will give you beautiful-looking results while leaving as much life on your floors as possible. Then, if they need to be restored down the road, you have that option.
There are several other things you need to know about the refinishing process. Rather than repeat them here, you can follow the links below to read them…
QUESTIONS about sanding...
- How long does the sanding and polishing process take?
- Can I stay home while you sand and polish my floors?
- Will the finish smell a lot?
- What finish systems do you use and recommend for our floors?
- Do you use filler in the gaps between floorboards?
- Can pet and water damage be repaired?
- Can you sand and polish engineered flooring?
- Do you sand underneath refridgerators and stoves?
- Can you sand out the deep scratches on my floor?
- When can I put my furniture and rugs back?
PDFs to download...
Which Finish System Should You Choose?
This PDF report explains the different finish systems available, and help you decide which one will be the best choice for your home.
pdf Download PDF ArticlePHOTOS from past projects
CUSTOMER feedback
We were totally thrilled with the miracle that Josh and his team performed on our timber floors. They had been neglected by the previous owners and were in pretty bad shape. Now, they look absolutely amazing. We could not be happier with the results. Josh was fantastic ... 100% reliable, friendly and so very helpful. We wouldn't hesitate to recommend LB Floors to anyone.Louisa H | Toowoomba, QLD | 5 Star Review on TrueLocal


