
TIMBER FLOOR STAINING
Do you have a timber floor you don't like and want to change up the look? For example, you may not like the color or knots in your Cypress Pine and would prefer a dark floor. Staining lets you change the color of your timber flooring without the expense of removing it and reinstalling new flooring.

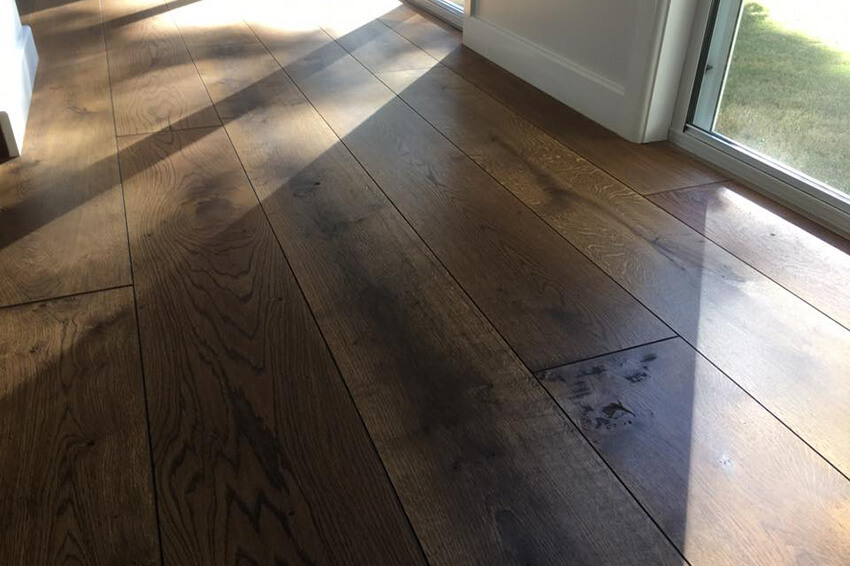
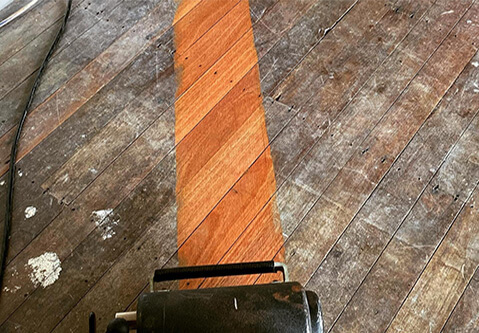
Staining a Cypress floor in an older Toowoomba home
What is staining exactly?
After the final sanding and before the first coat of finish, we apply a product to the floor's surface that changes the color. There are also special pre-treatments available that give extra layers of color and depth. We can make floors darker or lighter.

Whitewashing a Hoop Pine floor
The extra work needed:
When sanding and polishing a floor to be sealed in its natural state, we use a buffer to blend sanding marks made by the different belt sander and edger patterns. These sanding marks are not visible with a natural finish. But as soon as you apply a stain, it exaggerates those sanding marks, making those changes in pattern obvious, especially along the edges of a room.
So we take the following 5 extra steps to ensure your stained floor comes out as perfect as it can be:
EXTRA STEP 1Stain samples
It can be tough to choose a stain colour. So we'll apply some samples to your floor so you can see exactly how each colour will look. The area will be sanded and prepped to staining specifications. And we'll apply your choice of finish on top as well. That way, you can see exactly how the finished result will look—a much easier way to make a final colour decision.

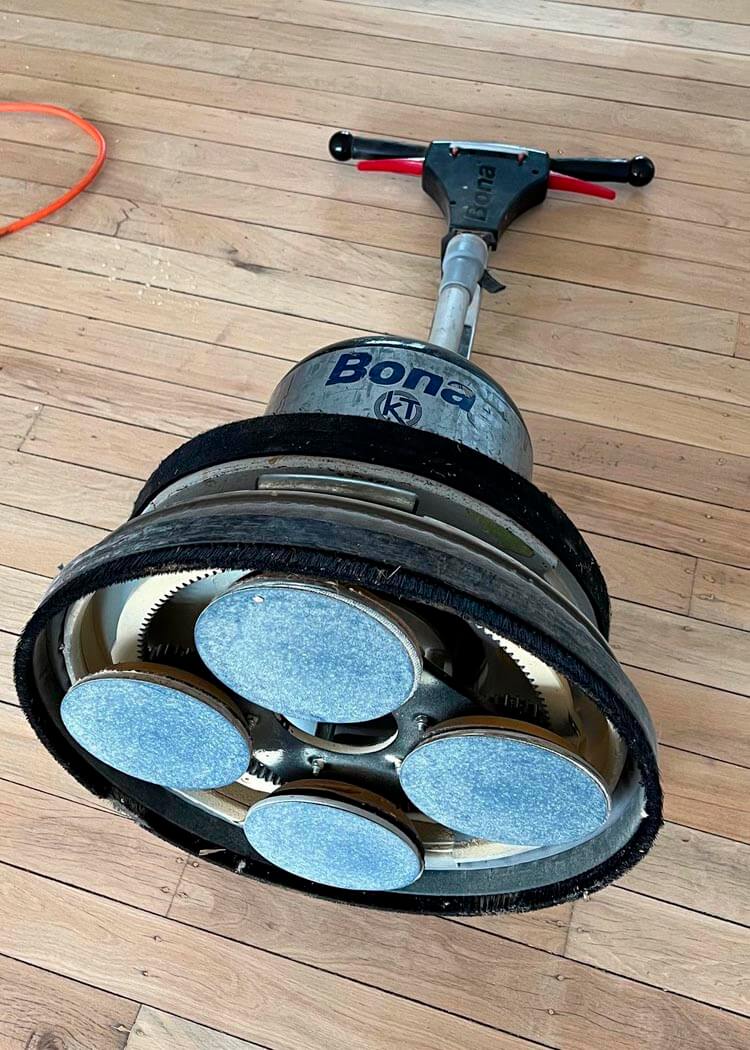
EXTRA STEP 2Planetary & hand sanding
We sand the entire floor again, using finer grit sandpaper (120 and 150 grit) with a multi-head planetary sanding machine. We then use hand-held sanders around the edges with the same grit sandpapers. And lastly, we hand sand all the corners again.
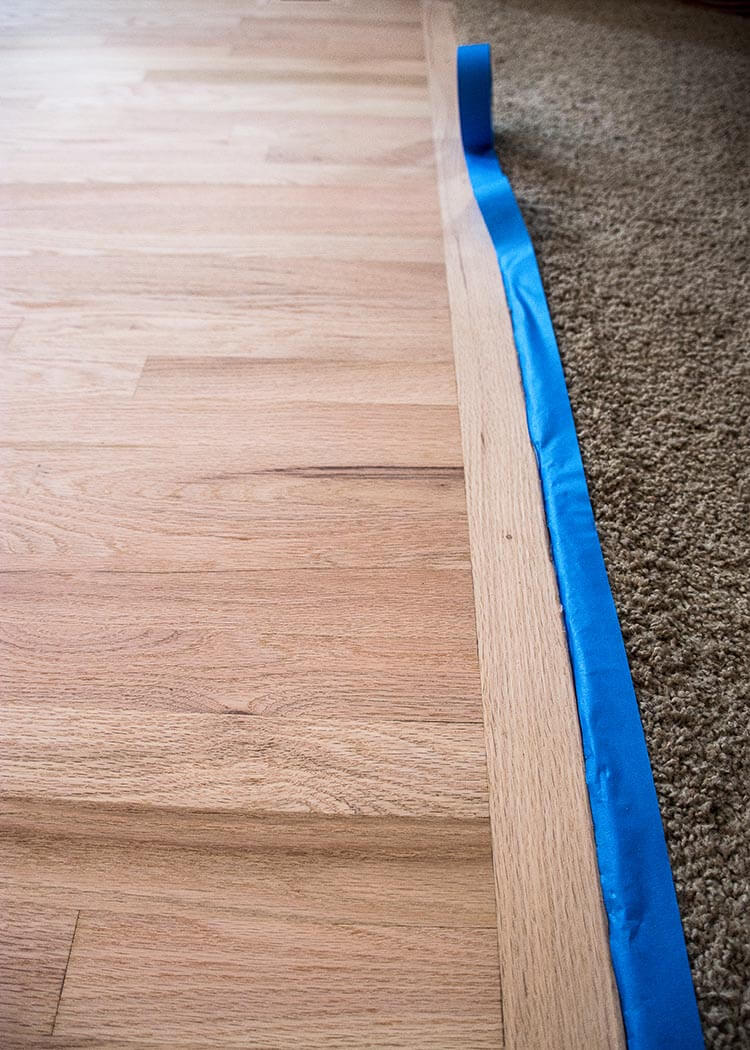
EXTRA STEP 3Mask off areas
After the sanding is complete, we mask off any areas that won't be stained. That way we won't get any stain on your carpets, tile, linoleum, transitions, or fireplace hearths.
EXTRA STEP 4Water popping
We water pop to remove any minor sanding marks left behind by raising the wood grain. This also lets the stain be applied more evenly and gives it a richer color.

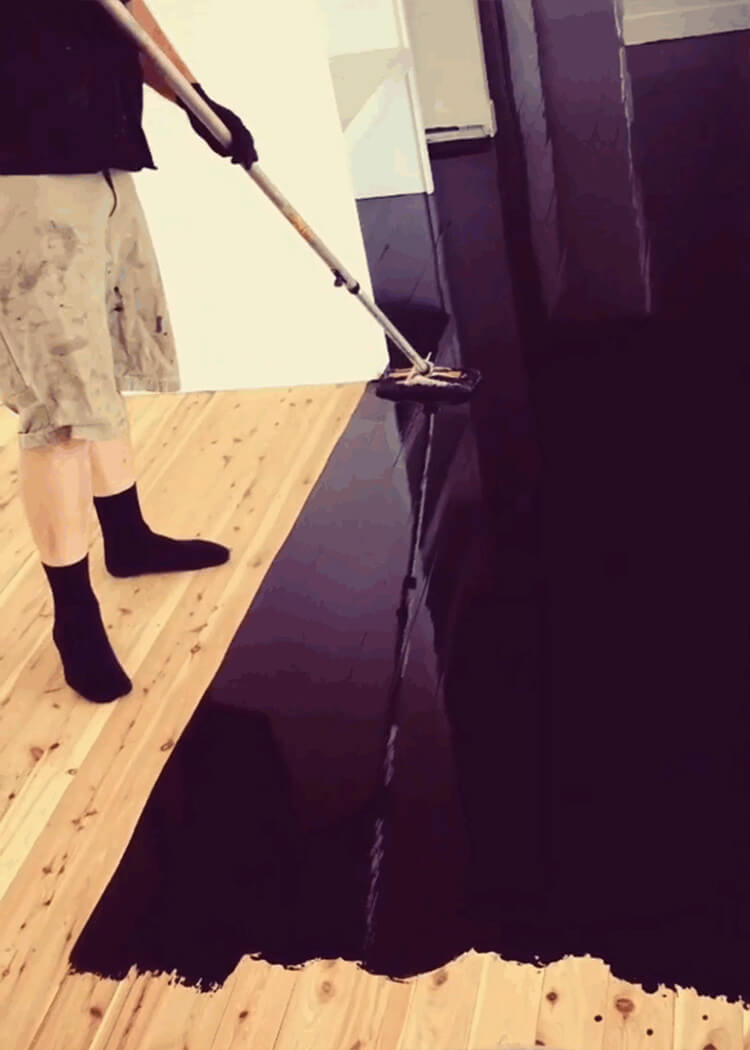
EXTRA STEP 5
Apply stain
Once the water popping treatment has dried, we apply the stain. We need to ensure the stain is applied without any lap marks and without damaging the raised fibres of the floor.
Once these 5 steps are complete, we wait 6 to 24 hours for the stain to dry. Drying time depends on the product, airflow, and humidity, among other things. When dry, the first coat of finish is applied.
This is why a professionally stained timber floor costs extra; it takes much more time. But while it's almost twice as much work, it's worth it in the end for a beautiful results. It's one of the most dramatic home improvements you can make.
Please be cautious about...
Some local timber floor sanding companies may offer a "staining" option that involves tinting the finish coat. This involves mixing stain in with the finish and applying it together at the same time, skipping the 5 steps above. We strongly caution against this for the following reasons:
- It doesn't look anywhere near as good as a proper stain job.
- There will be dark and light overlap marks on the floor.
- Scratches through the tinted finish will look horrible.
- You're playing backyard chemistry between differing products - stain and finish.
- The finishes durability is severely compromised.
- You will void the finish warranty.
It's much safer and more professional to have your floors stained the proper way as outlined above.
Should I Stain My Floor?
Most timber floors here in Toowoomba won't need staining.
If you have a beautiful native timber like Spotted Gum, Ironbark, Brushbox or Blue Gum, then we think they should be kept natural to show off their beauty. People all over the world spend big money to install these timber floors we take for granted here in Australia.
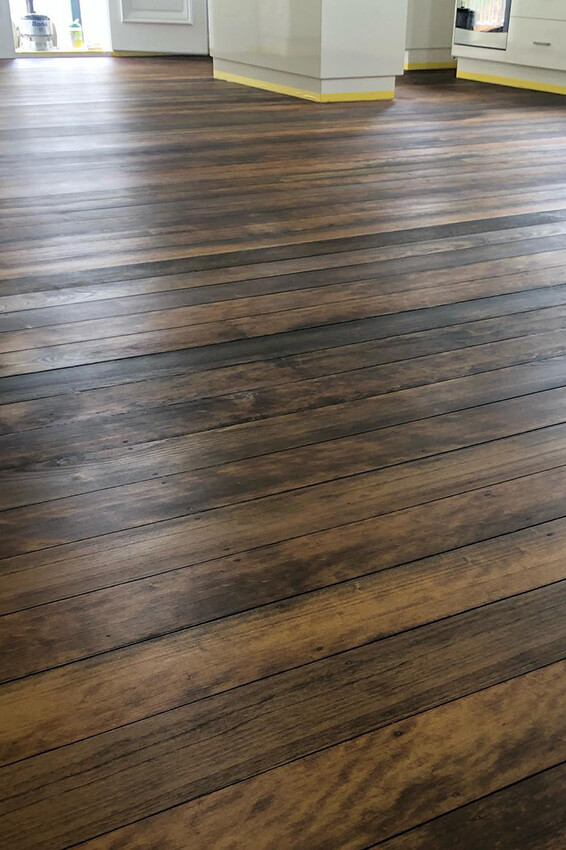
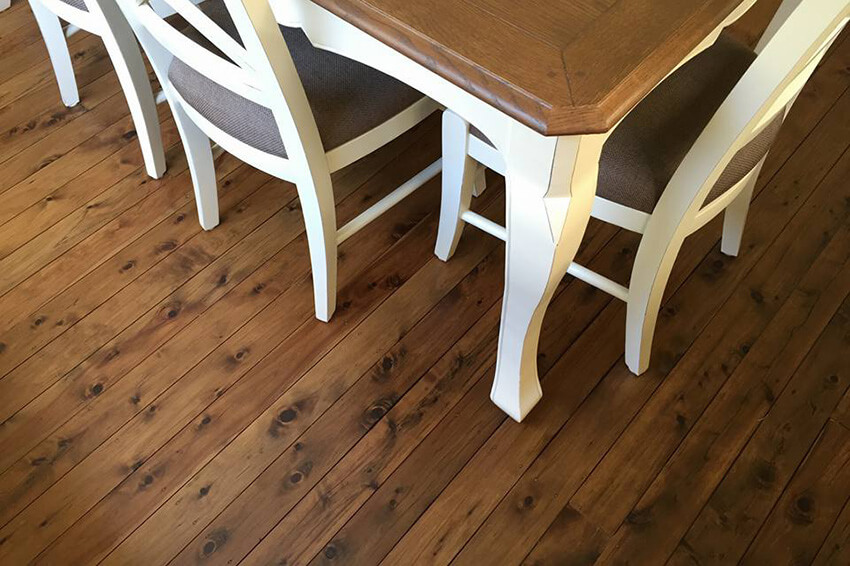

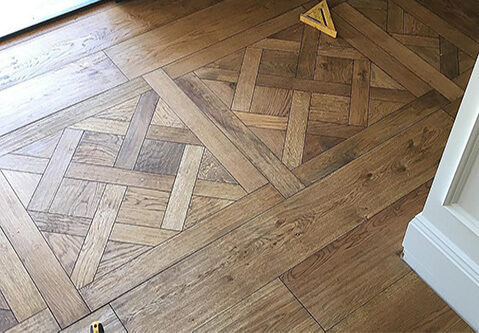
Above are a sample of some oak, cypress and pine floors we've stained
But if you don't like the look of your floor, staining is a great option to change things cost-efficiently. Staining can significantly change the feel of a room. It can turn your traditional home into a sleek and modern look, or transition a stark space or bland floor into something more exotic. And best of all, you don't have to remove or replace your existing floor—instead, it's an extra step we can take when sanding and polishing your floor.
Staining can also be an affordable option to hide significant water or pet damage on your floor if a repair is too expensive.
You can request staining at an additional cost. When we come to provide you a quote, we'll run through all of your options to change the color of your floors.
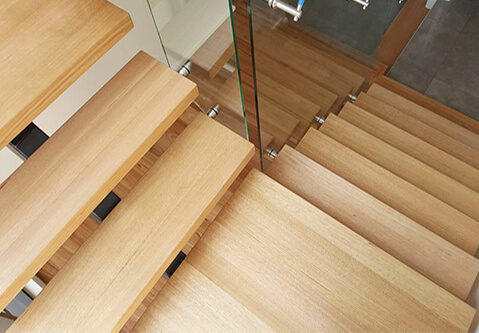
PHOTOS from past projects

CUSTOMER feedback
Very high quality results. Passionate about the different types of timber and how they respond to certain products. A wealth of knowledge in the flooring industry.Mike L | Toowoomba, QLD | 5 Star Review on Google